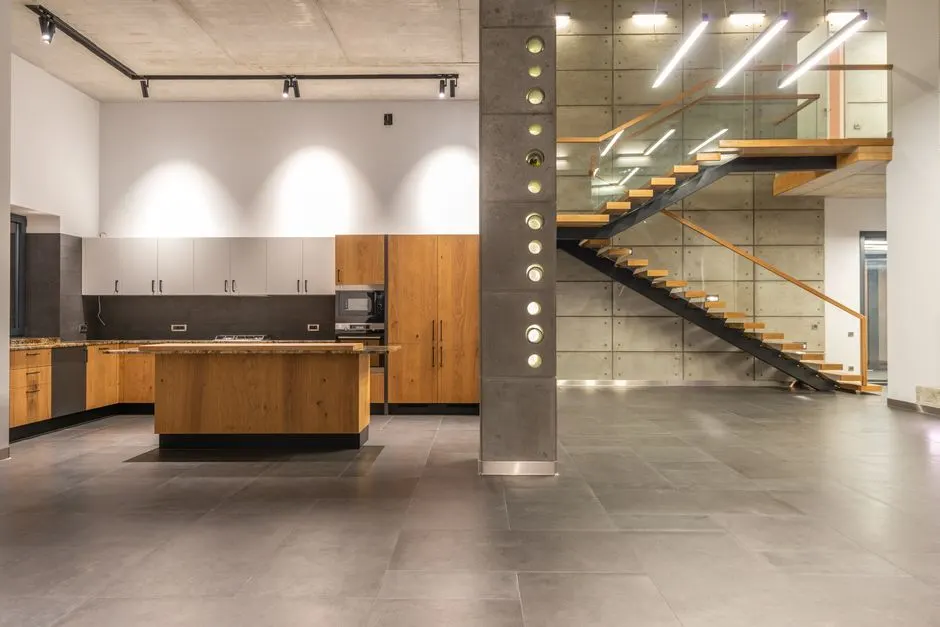
Concrete floor preparation for epoxy coating means getting the slab clean, dry, abraded, and structurally sound before a single drop of resin is mixed. If the concrete is holding moisture, coated in sealer, or slick from years of parking, the epoxy will peel within one or two Richmond winters no matter how good the product is. This guide walks through the exact sequence we use on jobs across Richmond, British Columbia - from moisture testing to grinding to crack repair - so you know what a proper prep actually looks like.
Why surface prep decides whether your epoxy lasts
Roughly 80% of epoxy coating failures trace back to prep, not the resin. Epoxy is a mechanical bond - it grips the concrete by locking into an open, profiled surface. A slab that's been power-troweled to a glass finish, or sealed with a curing compound during construction, gives the epoxy nothing to hold. Add Richmond's water table - some parts of the city sit barely a metre above sea level - and you get vapour pushing up through the slab from below, which is the single most common reason garage and basement coatings bubble and delaminate here.
We see this constantly in older Richmond neighbourhoods like Steveston and Broadmoor, where slabs from the 1970s and 80s were poured without a vapour barrier. Those floors need more testing and often a moisture-mitigation primer before any coating goes down. Skipping that step is the difference between a floor that lasts three years and one that lasts fifteen.
If you want the full picture of what a properly installed system looks like end to end, our team covers it under Epoxy Flooring in Richmond, British Columbia (BC) - but the short version is: prep first, coating second, always.
What does concrete floor preparation involve?
Concrete floor preparation is the sequence of cleaning, testing, profiling, and repairing steps that make a slab ready to accept an epoxy coating. It typically includes removing contaminants, measuring moisture vapour emission, grinding or shot-blasting to create a mechanical profile, filling cracks and spalls, and vacuuming the surface to bare concrete. On a standard two-car garage, that's a full day of work before the first coat is mixed.
The steps below are the same whether you're coating a garage, a basement, a workshop, or a commercial floor. What changes is the scale and the equipment - a 400 sq ft garage is a walk-behind grinder job; a 4,000 sq ft warehouse needs ride-on equipment and a different moisture strategy.
Step 1: Clear the slab and assess its condition
Empty the space completely - no boxes, no shelving, no car. Epoxy needs every square inch accessible, and you'll be generating a lot of dust. Once the floor is bare, walk it and note four things: existing coatings, oil or grease staining, cracks and spalls, and any areas that sound hollow when you tap them with a hammer.
Hollow spots mean the top layer of concrete has separated from the slab underneath. If you coat over them, the epoxy will pop off with the loose concrete. Those areas get chipped out and re-filled before anything else happens.
For a home garage, this is the stage where most people realize the job is bigger than they thought. If you'd rather hand the whole thing off, our Garage Floor Epoxy Coating in Richmond, British Columbia (BC) service includes every step below, start to finish.
Step 2: Test for moisture and pH
Moisture testing is the step DIY guides skip and the one that matters most in Richmond. The standard test is ASTM F2170, which uses in-situ relative humidity probes drilled into the slab. For most epoxy systems, the slab needs to read below 75-80% RH, though some manufacturers allow up to 85% with a specialised primer.
You can also run a plastic-sheet test: tape a 60 cm x 60 cm square of clear polyethylene to the floor, wait 24 hours, and check for condensation or a dark patch underneath. It's crude, but it tells you whether you have a problem. A calcium chloride test (ASTM F1869) gives you a number in pounds of vapour per 1,000 sq ft per 24 hours - anything above 3 lbs needs mitigation.
While you're at it, check pH. New concrete can run as high as 12-13, which is alkaline enough to chemically attack some epoxy primers. A pH of 10 or below is generally safe for standard systems.
Step 3: Grind or shot-blast the surface
Profiling is what gives epoxy its grip. The industry target is a CSP (Concrete Surface Profile) of 2 to 3 - a surface that feels like 80-grit sandpaper, with visible texture but no deep gouges. You get there one of two ways:
- Diamond grinding - a walk-behind grinder with diamond tooling. Best for indoor work, tight spaces, and slabs where you need to remove a thin existing coating. Dust is controllable with a shroud and HEPA vac.
- Shot blasting - steel shot fired at the surface, which cleans and profiles in one pass. Faster on large open floors, but noisier and harder to use near walls.
Acid etching is the old-school method and we don't recommend it. It's inconsistent, it leaves residue that has to be neutralised, and it doesn't open the surface enough for a modern high-build epoxy. Grinding is the standard for a reason.
If you're working on a commercial or warehouse slab, the equipment and dust-control requirements change. We handle those under Concrete Grinding and Polishing in Richmond, British Columbia (BC), where the same profiling principles apply at a much larger scale.
Step 4: Repair cracks, spalls, and control joints
Cracks and control joints get filled after grinding, not before. Grinding opens the crack edges and removes laitance, so the repair material can bond to clean concrete.
- Vacuum the crack and widen it slightly with a grinder or crack chaser if the edges are crumbling.
- Fill with a semi-rigid epoxy patching compound - not standard concrete patch, which shrinks and cracks again.
- For control joints, use a flexible polyurea or semi-rigid filler that can move with the slab. Rigid filler in a control joint will crack within a season.
- Spalls and hollow spots get chipped out to sound concrete, primed, and re-filled with a trowel-grade epoxy mortar.
Let repairs cure per the manufacturer's spec - usually 4 to 12 hours for epoxy patch - before you coat over them. If you're dealing with extensive cracking, it's worth having a specialist look at the slab first. Our Concrete Crack Repair in Richmond, British Columbia (BC) team handles structural and cosmetic crack work as a standalone service.
Step 5: Clean, vacuum, and verify the profile
The last step before coating is a full vacuum pass with a HEPA-equipped shop vac, followed by a tack-cloth or microfiber wipe-down. Any dust left on the surface becomes a bond-breaker - the epoxy sticks to the dust, and the dust doesn't stick to the concrete.
Verify your work before you mix:
- Run a hand over the surface - it should feel uniformly rough, like 80-grit paper.
- Drop a cup of water on the slab. On a properly profiled floor, it darkens the concrete and soaks in within a minute or two. If it beads up, you still have sealer or contamination.
- Check the moisture reading one more time. If it's climbed since your first test, stop and address it.
How long should you wait before coating?
New concrete needs 28 days to cure before epoxy goes down - that's the standard, and rushing it is a guaranteed failure. In Richmond's damp climate, we often wait 30 to 45 days and confirm with a moisture test before scheduling the coating.
For existing slabs, the wait is about surface condition, not age. The slab needs to be dry to the touch, at the right moisture reading, and at a surface temperature at least 3°C above the dew point. In practice, that means coating between late spring and early fall for most unheated Richmond garages. Coating a cold slab in January, when the concrete is sitting at 8°C and the air is at 90% humidity, is asking for an amine blush or a slow cure that never fully hardens.
If you're working in a heated, climate-controlled space - a basement or commercial interior - the season matters less. Our Basement Epoxy Flooring in Richmond, British Columbia (BC) projects run year-round because the slab stays warm and dry.
Common mistakes we see on DIY epoxy jobs
These are the failures we get called to fix most often, and every one of them traces back to prep:
- Skipping the moisture test. The most expensive shortcut. A coating that bubbles and peels within a year usually means vapour pressure from below.
- Acid etching instead of grinding. Etching leaves a surface that looks profiled but isn't. Epoxy bonds weakly and lifts at the edges.
- Coating over sealer. If water beads on the slab, there's sealer on it. Grind it off or the epoxy will delaminate in sheets.
- Filling control joints with rigid epoxy. They crack within one heating season. Use a flexible filler.
- Mixing epoxy in the wrong temperature. Below 15°C, most epoxies cure too slowly to develop full strength. Above 30°C, pot life drops to minutes.
- Not vacuuming enough. Dust you can't see is still there, and it's still a bond-breaker.
When to call a professional
If your slab has widespread hollow spots, active moisture issues, or you're coating more than about 600 sq ft, the equipment and testing alone will cost more than hiring it out. Diamond grinders, HEPA vacs, moisture probes, and the patching materials add up fast - and one missed step means stripping the whole floor and starting over.
Richmond Elite Epoxy Flooring handles prep and coating as a single package, so there's no finger-pointing between the guy who prepped the slab and the guy who coated it. We test, grind, repair, and coat with the same crew, and we quote the whole job upfront.
Frequently Asked Questions
How long does concrete floor preparation take?
A standard two-car garage takes one full day of prep - roughly 6 to 8 hours - before any coating is applied. Larger commercial or warehouse slabs run 2 to 4 days. Moisture mitigation or extensive crack repair adds time on top of that.
Can I epoxy over an existing epoxy floor?
Yes, if the existing coating is firmly bonded and you grind it to a dull, profiled finish first. If it's peeling, bubbling, or lifting at the edges, it has to come off - coating over a failing floor just transfers the failure to your new one.
Do I really need to grind the concrete, or can I just clean it?
You need to grind. Cleaning removes dirt but leaves the surface too smooth for epoxy to grip. The industry standard is a CSP 2-3 profile, which only mechanical abrasion produces. Acid etching doesn't get you there.
What's the ideal temperature to apply epoxy in Richmond?
Between 15°C and 30°C, with the slab at least 3°C above the dew point. In Richmond, that means late spring through early fall for unheated garages. Heated basements and commercial interiors can be coated year-round.
How do I know if my slab has a moisture problem?
Tape a 60 cm square of plastic to the floor for 24 hours. Condensation or a dark patch underneath means moisture is coming up. For a real number, an in-situ RH test (ASTM F2170) tells you whether you're under the 75-80% threshold most epoxies require.
Get help with Epoxy Flooring in Richmond
If you'd rather not gamble a weekend and a few hundred dollars in materials on a prep job that has to be right the first time, we'll take it from here. Richmond Elite Epoxy Flooring preps and coats floors across Richmond, British Columbia - garages, basements, workshops, and commercial spaces - with the testing and equipment the job actually needs.
Call us at +7742316666 to book a site visit and get a written quote for your slab.