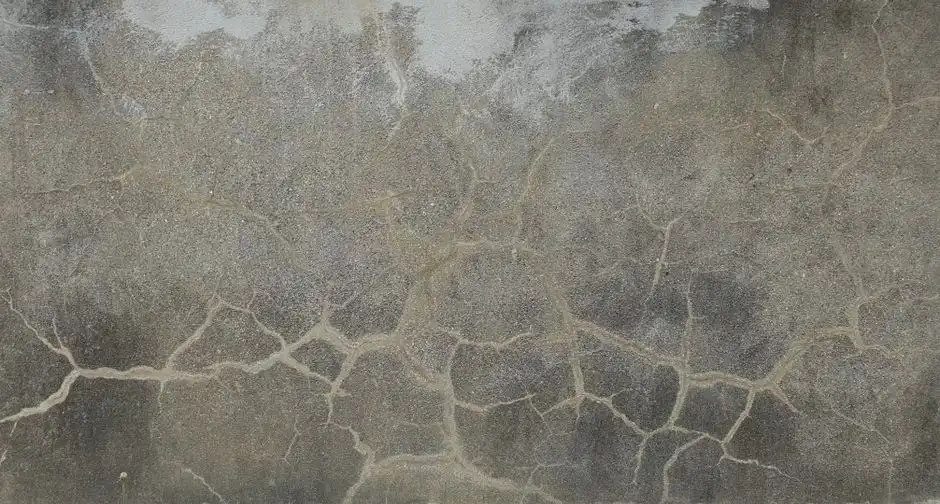
You repair a crack in an epoxy floor by cleaning it out, widening it into a V-groove, filling it with a flexible epoxy or polyurea patch, and sealing the surface so water cannot get underneath. If you catch it while it is still hairline - under 1 mm wide - the fix takes about an hour and costs under $50 in materials. Wait six months and that same crack will be 3 to 5 mm wide, the coating around it will be lifting, and you are looking at a full resurfacing instead of a patch.
We see this constantly on garage and basement floors across Richmond, British Columbia (BC), where the freeze-thaw cycle and our high water table work against concrete all year. This post walks through why epoxy cracks spread, how to tell a cosmetic crack from a structural one, the exact repair steps, what it costs in 2026, and when a patch is no longer the right answer.
Why epoxy floor cracks spread so fast
Epoxy floor cracks spread because the coating is rigid and the concrete underneath is not. Concrete moves with temperature, moisture, and soil settlement. Epoxy does not. When the slab shifts even a fraction of a millimetre, the epoxy either cracks or delaminates from the concrete - and once a crack opens, water gets in, freezes, expands, and widens it further.
Richmond has three conditions that accelerate this:
- Freeze-thaw cycles. We get roughly 40 to 60 freeze-thaw events between November and March. Water in a hairline crack expands about 9% when it freezes, and that pressure pries the crack wider every winter.
- High water table. Much of Richmond sits on former marshland with a water table two to four metres down. Hydrostatic pressure pushes moisture up through slab cracks year-round.
- Clay-heavy soil. Richmond's soil holds water and swells. That movement telegraphs straight up through the slab and into the coating.
A crack that starts at 0.5 mm in October can be 4 mm by the following April if it is in a garage that sees road salt and snowmelt. That is why we tell homeowners to treat any crack wider than a credit card edge as urgent.
How do you know if a crack is structural or just cosmetic?
A crack is cosmetic if the two sides are level and the width is under 2 mm. It is structural if one side is higher than the other, the width exceeds 3 mm, or the crack runs diagonally across the slab. Cosmetic cracks are a coating problem. Structural cracks are a slab problem, and patching the epoxy over them without addressing the slab is a waste of money.
Here is the quick test we use on site:
- Lay a straightedge across the crack. If it rocks, there is vertical displacement - structural.
- Shine a light along the crack. If you can see daylight through it, it goes all the way through the slab.
- Tap the epoxy on both sides with a screwdriver handle. A hollow sound means the coating has already delaminated.
- Check for moisture. Tape a 30 cm square of plastic sheeting over the crack for 24 hours. Condensation underneath means water is migrating up.
If you get two or more hits on that list, the crack needs more than a tube of epoxy filler. It needs Concrete Crack Repair in Richmond, British Columbia (BC) that addresses the slab itself before any coating goes back down.
Step-by-step: how to repair a crack in an epoxy floor
This is the process for a cosmetic crack under 3 mm wide with no vertical displacement. Plan on 60 to 90 minutes of working time plus 24 hours of cure before you put a vehicle on it.
What you need
- Angle grinder with a diamond V-groove wheel or a crack-chasing blade
- Shop vacuum
- Isopropyl alcohol (99%) and clean rags
- Two-part flexible epoxy crack filler or polyurea sealant
- Caulking gun and mixing nozzle
- Plastic scraper or squeegee
- Fine sandpaper (120-grit)
- Colour-matched epoxy topcoat and a small roller
The repair
- Open the crack into a V. Run the grinder along the crack to widen it to about 6 mm at the surface and 3 mm at the bottom. This gives the filler something to grip. Skip this step and the filler will pop out within a season.
- Clean it out. Vacuum all dust, then wipe the groove with isopropyl alcohol. The filler will not bond to a dusty or oily surface.
- Check for moisture. If the groove is damp, stop. You need to let it dry or address the moisture source first. Filling a wet crack traps water and guarantees a re-crack.
- Fill the crack. Inject the two-part filler from the bottom of the groove up, slightly overfilling. Use a flexible filler, not a rigid one - it needs to move with the slab.
- Scrape flush. While the filler is still workable, scrape it level with the surrounding epoxy using a plastic scraper. Do not wait until it cures.
- Let it cure. Most flexible fillers need 4 to 6 hours at 20°C before you can sand. Full cure is 24 hours.
- Sand and topcoat. Lightly sand the patch, wipe it clean, and roll on a colour-matched epoxy topcoat to blend it in. Two thin coats beat one thick one.
If the crack sits in a high-traffic area - a garage apron, a workshop floor, a commercial entry - we usually recommend going one step further and applying a full Epoxy Floor Resurfacing in Richmond, British Columbia (BC) over the repaired area. A patch will always be visible under raking light, and a resurfaced section blends in completely.
What does epoxy floor crack repair cost in Richmond in 2026?
Typical 2026 pricing in Richmond for epoxy floor crack repair runs $150 to $400 for a single cosmetic crack repaired by a professional, or $3 to $6 per linear foot for multiple cracks. A full slab crack repair with injection and resurfacing runs $8 to $15 per square foot. DIY materials for one crack cost $30 to $60.
Here is how the numbers break down:
- DIY patch kit: $30-$60 for filler, topcoat, and consumables. Your time: 1-2 hours.
- Professional single-crack repair: $150-$400, including grinding, filling, and colour-matched topcoat.
- Multiple cracks (10+ linear feet): $3-$6 per linear foot.
- Structural crack injection (polyurethane or epoxy resin): $500-$1,200 depending on depth and length.
- Crack repair plus full resurfacing: $8-$15 per square foot. A 400 sq ft garage runs $3,200-$6,000.
The math is simple: a $200 repair today beats a $4,000 resurfacing next year. We see homeowners in Richmond put off a $200 fix every winter, and every spring the number gets bigger.
Common mistakes that make cracks worse
The most common mistake is filling a crack without opening it first. Filler sitting on top of a hairline crack has almost no bond area, and it will shear off the first time the slab moves. You have to V-groove it.
Other mistakes we see:
- Using rigid epoxy to fill a moving crack. Rigid filler cracks again within one season. Use a flexible polyurea or a semi-rigid epoxy designed for crack repair.
- Skipping the moisture test. If water is coming up through the slab, no filler will hold. You need to address the moisture first, often with a vapour barrier or a moisture-tolerant primer.
- Overfilling and not scraping. A proud patch catches tires, snow shovels, and pallet jacks. It will chip out.
- Topcoating too soon. If the filler has not fully cured, the topcoat traps solvent and the patch stays soft for weeks.
- Ignoring the cause. A crack is a symptom. If the slab is settling or the soil is moving, patching the crack is cosmetic. You need to fix the slab.
- Repairing in the wrong temperature. Most epoxy fillers need 15°C to 30°C to cure properly. A Richmond garage in January sits at 5°C to 8°C. Warm the space first or wait until spring.
One more: do not pressure-wash a cracked epoxy floor before you repair it. Water drives into the crack and sits under the coating, and you will be back to square one within a month.
When to call a professional
Call a professional when the crack is wider than 3 mm, when one side is higher than the other, when you can see multiple cracks radiating from a single point, or when the epoxy around the crack is already lifting. Those are signs the problem is in the slab, not the coating, and a DIY patch will not hold.
We also get called when homeowners have tried a DIY repair and it failed within a season. That is usually a prep problem - not enough grinding, not enough cleaning, or the wrong filler. Our team handles the full sequence: grinding the crack open, cleaning it, injecting a flexible filler, and blending a colour-matched topcoat so the repair disappears. If the slab needs more than a patch, we will tell you straight and quote the Epoxy Floor Repair in Richmond, British Columbia (BC) that actually solves it.
For floors in garages, workshops, and commercial spaces across Richmond, we also look at whether the whole coating is due for a refresh. A crack repair on a 15-year-old floor with worn topcoat is money spent on a floor that needs replacing anyway. If you are in that situation, a conversation about Epoxy Flooring Installation in Richmond, British Columbia (BC) is worth having before you spend on patches.
We work across Richmond - Steveston, Terra Nova, Broadmoor, Hamilton, East Richmond, and the industrial parks along River Road and Vulcan Way. Every neighbourhood has its own soil and moisture quirks, and we have seen enough of them to know what a crack is telling us before we start grinding.
Frequently Asked Questions
How long does epoxy floor crack repair last?
A properly repaired cosmetic crack lasts 5 to 10 years if the slab is stable. A crack repaired without opening it first, or filled with rigid epoxy, often fails within one freeze-thaw season - so 6 to 12 months.
Can I repair an epoxy floor crack myself?
Yes, if the crack is under 3 mm wide, the two sides are level, and the surrounding coating is bonded. DIY materials cost $30 to $60 and the job takes 1 to 2 hours plus 24 hours of cure. Wider or displaced cracks need a professional.
Why does my epoxy floor keep cracking in the same spot?
Because the cause was never fixed. A crack that returns in the same place usually means the slab is still moving, moisture is still migrating up, or the original repair did not bond. Grinding the crack into a V-groove and using a flexible filler solves most repeat cracks.
What is the best filler for epoxy floor cracks?
A two-part flexible polyurea or semi-rigid epoxy designed for crack repair. Rigid epoxy and hardware-store concrete caulk both fail in Richmond's freeze-thaw cycle. Expect to pay $25 to $45 per cartridge for a quality flexible filler.
Can I epoxy over a cracked floor without repairing it?
No. Coating over a live crack traps the problem under a new layer. The crack will telegraph through the new epoxy within one or two seasons, and you will have wasted the cost of the recoat - typically $3 to $7 per square foot.
Get help with Epoxy Flooring in Richmond
If your epoxy floor has cracks that are widening, lifting, or coming back after a DIY fix, we can take a look and give you a straight answer on whether it is a patch or a resurface. We handle everything from single-crack repairs to full Epoxy Flooring in Richmond, British Columbia (BC) for garages, basements, workshops, and commercial spaces.
Call Richmond Elite Epoxy Flooring at +7742316666 to book a walkthrough. We will tell you what the crack is telling us and what it will take to stop it.